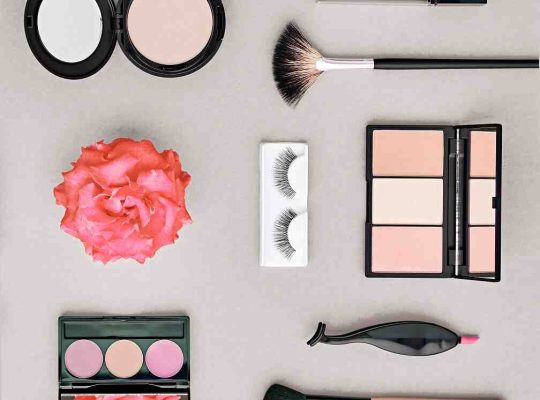
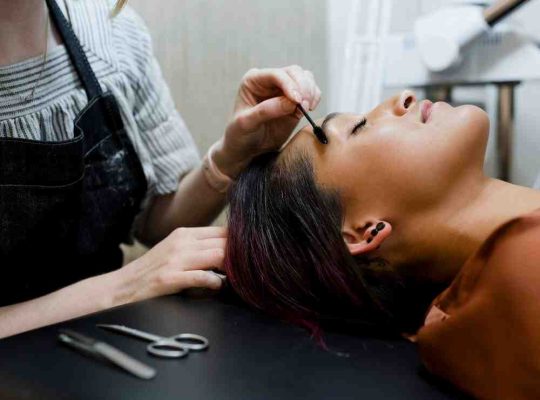
Tips for Applying False Lashes Like a Pro
False lashes are a game-changer when it comes to enhancing the eyes and adding drama to any makeup look. However, applying them can be tricky if you’re new to the process. With a little practice and the right techniques, you can achieve flawless, natural-looking lashes every time. Whether you’re going for a subtle enhancement or full-on glamour, these pro tips will help you apply false lashes like an expert.
1. Choose the Right Lashes for Your Eye Shape
The first step in achieving perfect false lashes is selecting the right pair for your eye shape. Not all lashes are created equal, and choosing the wrong type can make the application process more difficult or result in an unnatural look.
Tip: If you have small eyes, opt for lashes that are longer in the center to create the illusion of wider eyes. For round eyes, choose lashes with a more tapered, winged shape. If you have hooded eyes, look for lashes with a more natural curl that won’t interfere with your eyelid.
2. Trim the Lashes to Fit Your Eye
False lashes often come in a standard size, but every eye shape is unique. If the lashes are too long for your eyes, they can be uncomfortable or look unnatural. Trimming the lashes ensures they fit your eye shape perfectly.
Tip: Before applying, hold the lashes against your lash line and check if they need trimming. Use small scissors to trim from the outer corner of the lash strip, as this is usually where the excess length is. Start with small cuts and check the fit as you go.
3. Curl Your Natural Lashes
Before applying false lashes, it’s important to curl your natural lashes. This helps them blend seamlessly with the false lashes and creates a more lifted, wide-eyed look.
Tip: Use an eyelash curler to gently curl your lashes before applying mascara. This will give your natural lashes the lift they need to blend well with the falsies. Be sure to curl your lashes slowly to avoid crimping them or causing breakage.
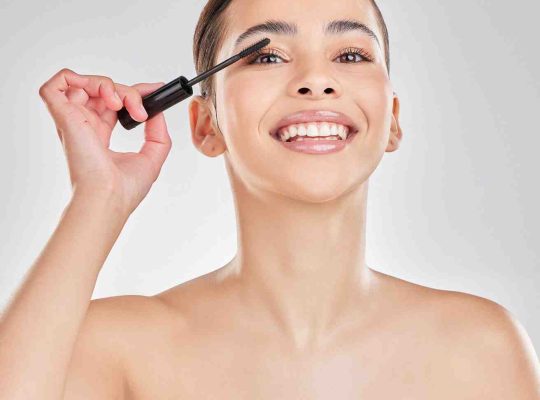
4. Apply Mascara Before the Lashes
While false lashes are meant to add volume and length, applying a coat of mascara to your natural lashes before you apply falsies will help them blend more naturally with the false lashes.
Tip: Apply a thin coat of mascara to your natural lashes before placing the falsies on. This helps them stick together and gives them more grip for a secure fit. Just be careful not to overdo it with the mascara, as it can make the lashes harder to apply.
5. Use the Right Adhesive
Choosing the right eyelash adhesive is key to ensuring your lashes stay in place all day (or night). Lash adhesives come in different formulas, including clear, black, and waterproof options.
Tip: If you want a more natural look, opt for clear adhesive, which dries invisibly. If you’re going for a bold, dramatic look, black adhesive can blend seamlessly with your eyeliner. Waterproof adhesives are perfect for long-lasting wear, especially in humid conditions or if you’ll be wearing the lashes for an extended period.
6. Wait for the Glue to Become Tacky
One of the most common mistakes when applying false lashes is applying them immediately after applying glue. If the glue is too wet, the lashes can slip and slide, making the application messy and uneven.
Tip: After applying glue to the lash band, wait about 20-30 seconds for the glue to become tacky. The glue should feel sticky to the touch, which will make it easier to adhere to your lash line. If you’re in a rush, you can blow gently on the glue to speed up the drying process.
7. Use Tweezers for Precision
Using your fingers to apply false lashes can sometimes be tricky, especially when you’re trying to get them perfectly aligned with your lash line. Tweezers can provide more precision and control, helping you position the lashes more easily.
Tip: Use a pair of fine-tipped tweezers to hold the false lashes in place while you apply them. This will give you more control and help you get the lashes as close to your natural lash line as possible. You can also use the tweezers to gently press the lashes into place after they’ve been applied.
8. Place the Lashes in the Center First
When applying false lashes, it’s important to start in the center of your eyelid and work your way outwards. This helps to position the lashes correctly and ensures an even fit along your lash line.
Tip: Once the glue is tacky, use tweezers to place the middle of the lash strip directly on top of your natural lash line. Then, press down the outer corner and inner corner of the lash band to secure it in place. This technique ensures that the lashes sit evenly and comfortably.
9. Blend the Lashes with Your Natural Lashes
After applying false lashes, it’s important to blend them with your natural lashes to create a seamless look. This step ensures that the falsies don’t look too separate from your own lashes.
Tip: Gently press your natural lashes and the false lashes together using your fingers or tweezers. You can also apply another coat of mascara to both the false and natural lashes to further blend them together. This will help make the lashes look fuller and more natural.
10. Use Eyeliner to Hide the Lash Band
Sometimes, the lash band of false lashes can be visible, which can make the application look less natural. To hide the band and create a flawless finish, eyeliner is your best friend.
Tip: Use a liquid or gel eyeliner to draw a thin line along your upper lash line. This will help camouflage the lash band and make the false lashes look more seamless. If you used black lash glue, you may not need to apply eyeliner, but it can still help enhance the overall look.
11. Fix Any Lashes That Lift
If any part of your false lashes starts to lift after application, it’s important to fix them quickly to avoid a messy or uneven look. This can happen if the glue didn’t dry properly or if the lashes weren’t pressed into place securely.
Tip: If you notice any lifting at the corners, apply a small amount of glue to the area and gently press it back into place. Use tweezers or your fingers to hold the lash in place until the glue sets. Be sure to wait a few seconds for the glue to become tacky before applying it to the lash line.
12. Remove the Lashes Gently
When it’s time to remove your false lashes, do so gently to avoid damaging your natural lashes. Ripping off the falsies can lead to lash breakage or irritation.
Tip: Use a cotton swab soaked in makeup remover or a lash glue remover to gently loosen the glue. Start from the outer corner of your lashes and carefully peel them off. Always be gentle and never pull the lashes off forcefully.
Conclusion
With the right tools, techniques, and a little practice, applying false lashes can become a quick and easy part of your makeup routine. From choosing the right lashes to using tweezers for precision, these tips will help you achieve a flawless lash look every time. Whether you’re a beginner or a pro, following these steps will give you beautiful, voluminous lashes that elevate your eye makeup and complete any look.